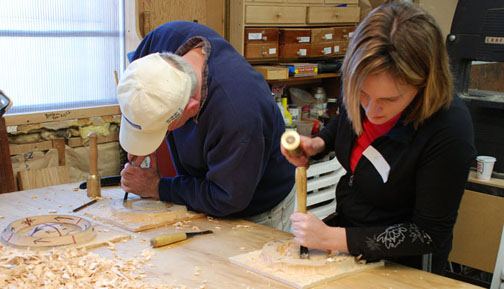
For beginners who want to learn how to whittle, it's possible to start with the basics. Pick wood, a knife and some tools. This article will explain the differences between different types of wood and how to use them. Once you understand the basics of whittling, you are ready to begin your own project. There are many types of whittler projects to choose from.
Wood
Although there are many types of wood available, the following four woods are the best for whittling. This list of woods can help you start whittling. There are also various ways to whittle wood to achieve a variety of shapes. Here are some simple methods for whittling wooden objects.
The pull stroke is when you carve wood. Keep the blade parallel with the grain. This will prevent the wood from being ripped. To tell the direction of the grain of wood, look for dark streaks running through the wood. These streaks will indicate the direction of your blade when you are whittling wood. The push stroke will cut through wood more effectively than the pull stroke.
Knife
If you are just starting out in woodworking, it can be fun to practice your skills by using a knife to cut. Even though you may not be an expert, mastering the technique will allow you to control the knife better and make precise cuts. Practice the pull stroke, for example, by cutting small strips with a knife soap. Practice makes perfect. Beginning projects are simpler to manage and become more difficult as you move on.
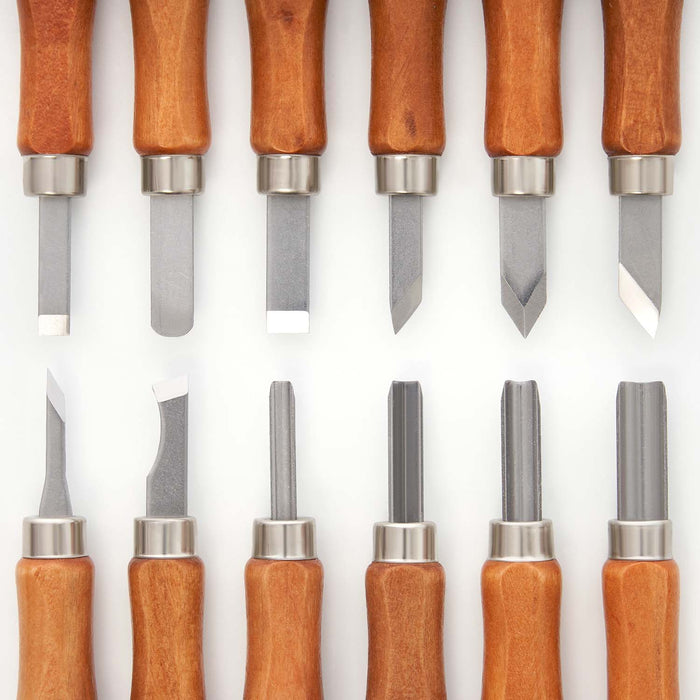
Before you begin whittling, a knife is essential. A pocket knife is ideal, as it is sharp enough to produce shavings with a sharp blade. Avoid knives with large, long blades. These can lead to choking. A narrower bevel will make it easier for you to sharpen your knife. You can also use a frame saw if necessary.
Techniques
There are a few techniques that you can use to improve your skill at whittling. Pull stroke is the most popular cut. This involves placing your right thumb on the piece of wood and pinching your left fingers. Next, draw the knife to your right thumb while keeping it straight. This stroke is fast and controlled and allows you to have a lot more control over the blade. This technique is best for detailed cuts.
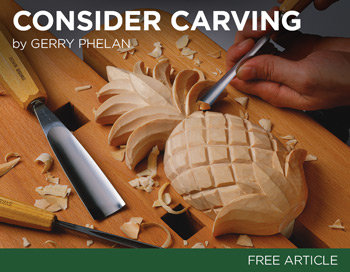
There are two main types of whittling book. The Old Time Whittling is the first, and it is a great reference book for beginners. The Little Book of Whittling is another good book that has a large variety of whittling ideas. There are many whittling projects in the Whittling Handbook. A few more advanced projects can be found in The Art of Whittling. This book contains patterns such as ball and cage, as well as simple puzzles.
Tools
To make whittling tools, the first step is to find suitable wood for your projects. It's possible to use found wood but it is more efficient to get greenwood. Greenwood is easier than drying wood to carve. You can also gather deadfall branches at any given time. You can collect small trees at any time, but it's best to cut them in winter. If you're working on private property, ask permission before collecting wood.
There are many great sets for beginners. The Delicacy carving kit includes 12 tools, an empty wooden spoon blank and a knife sharpener. This set also includes protective gloves, a carry bag and a pouch. It's worth buying a set of whittling tools, since you'll be using them for a long time. This set is also an affordable way to get started.
Starter projects
You might start out with a simple project like a walking stick if you're new to wood whitling. You can move on to more difficult projects like carving faces onto walking sticks. Comfort Birdie: This bird is perfect for beginners. Another beginner whittling endeavor is the swan. These are great gifts to give children and easy to make even if your a beginner.
A carved-ball in a frame is another great beginner project. You can create intricate designs and use feathers to match your theme. You can also create Tiki idols and woodland spirits. Although there are many possibilities, it is a good idea that you have a template ready to go before you start. This will allow you to determine which tools and pieces are needed.
FAQ
Can I make my living doing this job?
Yes! In fact, most woodworkers already have it. According to U.S. Bureau of Labor Statistics (BLS), woodworkers earned a median annual salary of $34,000 in May 2012. This is much higher than the national median of $31,000 per annum.
What is the average time it takes to finish furniture?
It all depends upon the size of your piece of furniture. You can finish smaller projects, such as boxes or picture frames, in one day. Larger projects such as tables and desks can take several days to complete. It takes time to stain and seal the wood properly.
How long does a piece take to finish?
It depends on the type and complexity of your design as well as the amount of finishing that you use. For example, hardwoods require more maintenance than softwoods. Hardwoods are more expensive than other woods. But they last longer and resist moisture better. The typical time taken to finish a piece furniture takes anywhere from one to three month.
Where can you find free woodworking blueprints?
Woodworking plans can be found online without the need to purchase books or magazines. You just need to search Google. You can search Google for "free woodworking" and hundreds of websites will appear allowing you to download plans.
Statistics
- If your lumber isn't as dry as you would like when you purchase it (over 22% in Glen Huey's opinion…probably over 10-15% in my opinion), then it's a good idea to let it acclimate to your workshop for a couple of weeks. (woodandshop.com)
- Most woodworkers agree that lumber moisture needs to be under 10% for building furniture. (woodandshop.com)
- The best-paid 10 percent make $76,000, while the lowest-paid 10 percent make $34,000. (zippia.com)
- In 2014, there were just over 237,000 jobs for all woodworkers, with other wood product manufacturing employing 23 percent; wood kitchen cabinets and countertop manufacturing employing 21 percent. (theartcareerproject.com)
External Links
How To
How to make wood joints
This tutorial will help you join two pieces of wooden together. The "pocket hole joint" is a method whereby we drill holes into the wood and glue them together. If your wood is straight and flat, this method will work well. If your wood isn't straight or flat, you might want to try another method, such as dowel joinery. These are the steps
-
Drill Pocket Hole Joints. You will need to measure and mark the exact location of your pocket hole joint. Use a jigsaw or handheld drilling machine to drill 3/8 inch deep holes at the ends of each wood piece.
-
Sand Smooth. Sanding the wood's edges will help ensure that the joint won't split later.
-
Glue the two sides of the wood together. Apply glue to the sides of both wood. Let it sit for about 5 minutes before clamping the pieces together.
-
Fix the Pieces together. After the glue has dried you can attach the pieces to form a flush joint.
-
Trim Joinery. Trimming the joinery after glue has completely dried.
Allow enough space between pieces so you can turn them inside out.