
There are many tools you can turn in your workshop. Some of these tools include the Faceplate gouge, Spindle roughing gouge, and Bowl gouge. Others are more suited to specific wood types like oak or walnut. Here are some tips on how to choose the right tools. Below are some of the most widely used turning tools. Take the time to consider all of your options and then make a decision that is within your budget.
Turning a faceplate
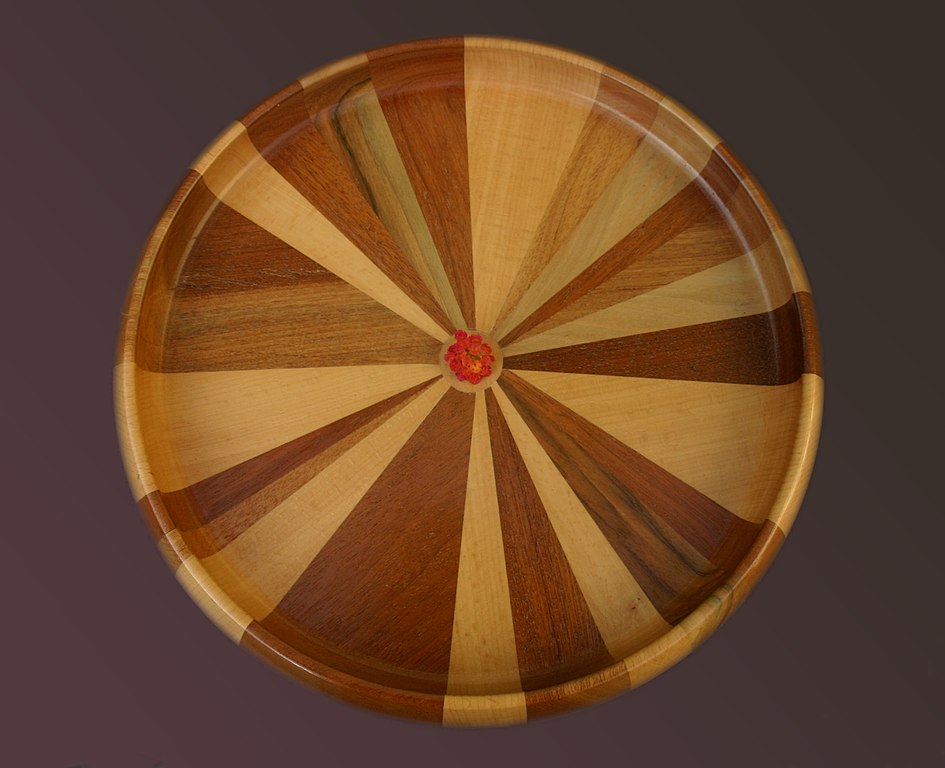
Woodworking techniques can include the use of a faceplate. These faceplates are simple or elaborate designs made of wood. Here are some examples. The trophy base is made with straight sides, while the rosette features deeper beads and coves. Both require great care and attention to detail. You can read the following to find out more about faceplate turn.
Cuts will be affected by the angle at which a piece of equipment is placed on the work. The cleaner the cut, the greater the shear angle. A square tool might be able to cut the wood. However, a 45-degree angle will create a smoother finish. Using a 45-degree angle makes the cut more shear and produces a smoother finish. A gouge or sharpening stone can improve the appearance of your cut.
Spindle roughing hammer
A spindle roughing gouge is used for aggressively reducing square or rectangular spindle blanks into round cylinders. Unlike the skew chisel, the spindle roughing gouge should not be used to turn bowls. Its cutting edges dig into the end grain. It can still be used for cross-grain tasks, such as turning bottle stopspers.
You should not cut across the grain with a spindle-roughing gouge. The tool's geometry measures 45 degrees. This makes it difficult to cut across the grain. Also, the tool size and flute shape can cause trouble. If you are a skilled woodworker, this tool is not recommended. Whether you're a complete beginner or a seasoned pro, here are some tips to keep in mind.
Make sure you are using the correct angle. Make sure you use the correct angle when using a spindle roughing saw. While you are cutting, wipe any dust with your index fingers. Next, ensure that the cutting edge touches the wood. The shavings that are left behind by the cutting edge indicate the right position. Once the wood has been cut, move on to the next step.
Bowl gouge
A bowl gouge is a high-quality turning tool that is used to remove material from the inside of a bowl. This tool is made from high-speed steel and features a brass ferrule. Adjust the height of the tool-rest to make the bowl shape you want to use the bowl gouge. Next, move the handle of the bowl gouge forward and backwards until it reaches the desired depth.
There are many sizes and shapes of a bowl gouge. A bowl gouge of approximately 1/2" diameter is best for beginners. For finishing cuts, a 3/4" or larger bowl gouge is best for beginners. A larger gouge can be used to turn large bowls and as a wood plow. Different sizes of gouges will have different grind profiles. The area around the bevel that forms the cutting edge of a gouge is called its "cutting edge". To test its sharpness, you can rub your finger on it.
Skew chisel
Before you can use a wooden skew chisel properly, it is important to understand the basics. It is important to know how to make both long and short taper cuts using it. Use the heel of your skew's edge to adjust the angle of your chisel's contact with the spindle. An ideal angle for V-cutting, planing, and forming beads is between 20-30 degrees.
You can quickly and easily cut V-grooves using a skew tool chisel to turn wood. To begin, position the toolrest high. Next, use the long end of the tool to mark the V-groove's centerline. Then, elevate the handle to make the groove deeper. Alternate the left and right cutting actions until you achieve the desired depth. Once you're satisfied with the cut, take the skew’s bevel and roll it away.
FAQ
What is the minimum amount I will need to start?
Because each project is unique there are no exact numbers. These are the factors that will give you an idea of how much you'll need.
-
Cost of materials
-
Tools and equipment
-
Time spent on the Project
-
Your hourly rate
-
What profit are you expecting to earn?
-
You can hire help, regardless of whether you have a plan.
If you're just starting out, you may decide to start small by making simple items such as boxes and picture frames. You'll become more proficient as you get experience.
How can you calculate the woodworking price?
It is essential to calculate costs as accurately as possible when pricing any project. Always make sure you get the best price on materials. It is important to take into consideration all factors that can impact the cost of your projects. These include time, skill and experience. Our guide to the average household DIY task price will give you an idea of how much it costs to complete different types of woodwork projects.
How much does a hobbyist need to invest in getting started?
A lot of capital is required to purchase the necessary supplies and tools if you want to start your own woodworking shop. A good place to start would be by buying a small table saw, drill press, circular saw, jigsaw, and sanding machine. These items don't cost much so they won't break your budget.
Statistics
- Woodworkers on the lower end of that spectrum, the bottom 10% to be exact, make roughly $24,000 a year, while the top 10% makes $108,000. (zippia.com)
- Most woodworkers agree that lumber moisture needs to be under 10% for building furniture. (woodandshop.com)
- The U.S. Bureau of Labor Statistics (BLS) estimates that the number of jobs for woodworkers will decline by 4% between 2019 and 2029. (indeed.com)
- If your lumber isn't as dry as you would like when you purchase it (over 22% in Glen Huey's opinion…probably over 10-15% in my opinion), then it's a good idea to let it acclimate to your workshop for a couple of weeks. (woodandshop.com)
External Links
How To
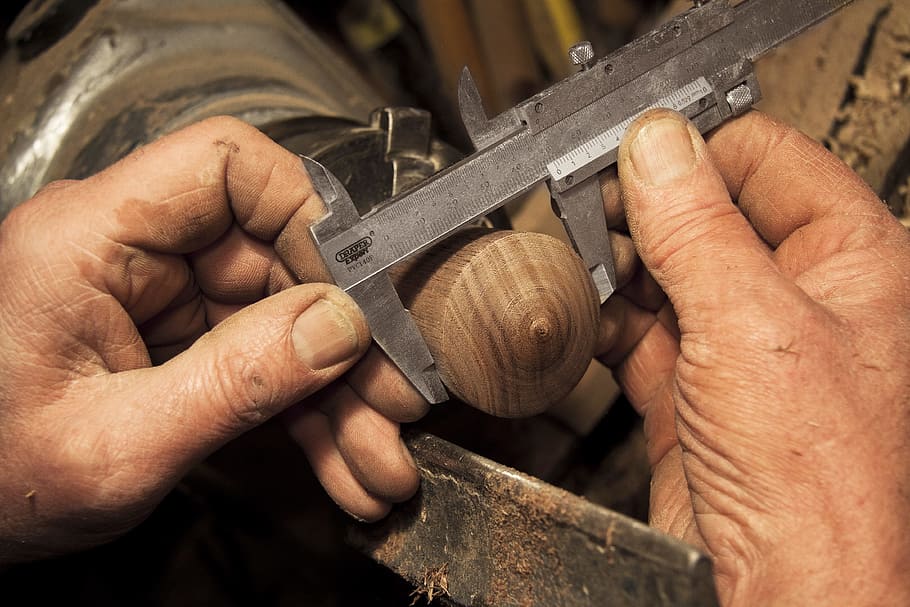
How can you measure wood accurately?
There are many methods for measuring wood. A digital caliper is a tool that measures distances. We also use a laser level to ensure your work surface flattens.
Two jaws are available on a digital scaler. One can open and the other close. One jaw holds the measured object while the other measures the distance between the two points. The digital scale is perfect for measuring tiny distances such as wood thickness.
Laser levels have an infrared light beam that projects a line across the floor. The laser emits a red dot along the line. The line can be viewed down to determine if the surface has an even surface. For larger surfaces, laser leveling is the best method of checking accuracy.
Bubble levels look similar to a compass. The center of the device contains a bubble. As long the bubble is not in the middle, the device will show you whether the surface of the object is level. The bubble levels can be used to check the accuracy of smaller areas.