There is a fascinating history behind fretwork, and it dates all the way back to the mid-16th century. We will be discussing the origins and influences of architectural periods on patterns, common components, as well as techniques. You can read on to learn more. For future reference, don't forget about bookmarking this page! Here's a quick overview about fretwork's history.
Patterns from different cultures
The history and origins of fretwork date back to nearly 3,000 BC, when Egyptian furniture was first discovered in sealed tombs. The art form was eventually introduced to the rest. It has been a major part of modern decor, for both floors as well as walls. Many patterns are found in a variety materials including metal and wood. Here are some major sources of fretwork.
The 12th century saw the development of the trellis. It was originally used for shade and air circulation. Modern interior design incorporates many designs based on Islamic geometric patterns. A few of these patterns have been used in decorative elements of Edwardian and Victorian architecture.
Influences on architectural periods
The period from which fretwork originated, as well as the general period in architecture, influences its style and form. Modernism was the birth of a new type of architecture that was devoid of ornament and bound by a universal vocabulary. This period was the beginning of postmodernism. A style that reflects and echos the past styles, it was called postmodernism. Modernism was a major shift in architecture. But fretwork design and style were influenced by this time period.
The history of architecture is nearly as old as humankind itself. While styles may have developed in different areas, they reflect changes in society and the climate. Different architectural styles developed and shaped in response to particular periods. This often reflects the changing climate and landscape of the region. Architecture has evolved from new ideas and improved construction techniques throughout history. These movements have helped to define artistic trends around the world.
Common components

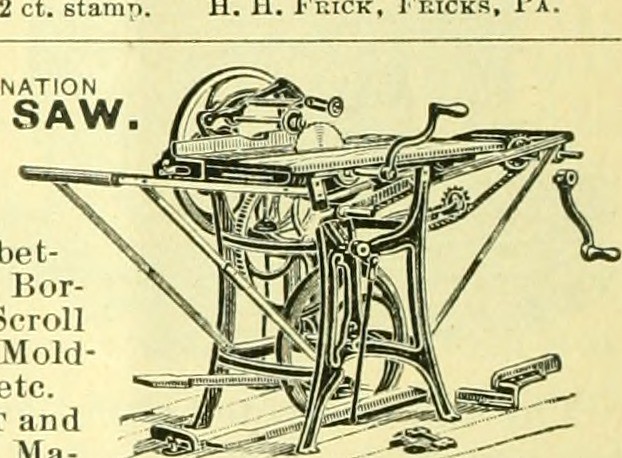
The history of fretwork goes back as far as the civilizations themselves. There have been many periods in which this ornament has been used. It is believed that fretwork was created in Greece and named after its geometrical design. For decorating pottery and painting, frets were also used in the construction of buildings and other buildings by the Greeks. Fretwork is usually made in geometrical patterns. It often appears as a band. Victorians started to use the scrollsaw to cut fretwork as well as the treadle-lathe.
Although the Moors occupied large parts of Spain in the early Gothic period they also influenced Spanish and Portuguese art and decoration. Fretwork is the oldest form of decorative art known. The history of fretwork dates back to pre-Roman times. The earliest examples are from the 12th Century. The history of fretwork, however, is far more complicated. The Renaissance was also enriched by significant contributions made by Moors to architecture and decoration.
Techniques
You can find articles on fretwork within national or international publications. However, they are not always impartial. However, there are great resources available that can help make informed decisions. These are just three examples. Let's begin with the first. D. Denning's book covers fretwork and martingale, as well as its history and methods. It includes instructions for scroll sawing, overlaying and inlaying.

The first time fretwork was discovered was on Egyptian furniture. It was found in their sealed tombs. It has become an important part of modern decor and spread throughout the world. It is widely used today on walls and floors. You can learn about the history of this unique and beautiful design by looking at the examples below. You'll be amazed at how old these techniques are! You'll be amazed at how old these techniques are!
FAQ
What is the main difference between plywood or particle board?
Plywood consists of layers made from wood and pressed together by pressure. Plywood can be cut to different thicknesses. It's commonly used as flooring and cabinets. Particle board is made of sawdust and resin that has been compressed into large blocks. It's used for home improvement projects. Both types of boards are durable and easy to cut.
How do I organize my shop?
To keep your workshop tidy and organized, you should first create a place for tools storage. Make sure your tools are clean and free of debris and dust so they can be used properly. To hang accessories and tools, use pegboard hooks.
Is it necessary to be a genius in woodworking to succeed?
No. Woodworking is not difficult. To create stunning works of art, anyone can learn to use basic power tools.
Statistics
- Most woodworkers agree that lumber moisture needs to be under 10% for building furniture. (woodandshop.com)
- Average lumber prices rose about 600 percent between April 2020 and May 2021. (familyhandyman.com)
- Overall employment of woodworkers is projected to grow 8 percent from 2020 to 2030, about as fast as the average for all occupations. (bls.gov)
- The U.S. Bureau of Labor Statistics (BLS) estimates that the number of jobs for woodworkers will decline by 4% between 2019 and 2029. (indeed.com)
External Links
How To
How to make wood joints
This tutorial will help you join two pieces of wooden together. We will use the pocket hole joint, which is drilling holes in the wood to join them. If your wood is straight and flat, this method will work well. You might consider dowel joinery if your wood isn’t straight or flat. Here are the steps
-
Drill Pocket Hole Joints. Measure and mark the location where you would like to place the pocket hole joint. You will then drill 3/4" deep holes through each piece of wood with a jigsaw, handheld drilling machine, or hand-held drill.
-
Sand Smooth. Sanding the wood's edges will help ensure that the joint won't split later.
-
Glue Together Apply glue to both sides of the wood. Allow it to sit for approximately 5 minutes before you clamp the pieces together.
-
Clamp the Pieces Together. Once the glue has dried, clamp the pieces together so they are flush.
-
Trim Joinery. Trim the excess wood around the joint after the glue has dried completely.
Make sure to leave enough room between the pieces so that you can turn them inside and out.